I saw this weeks ago over on Confessions of a Cookbook Queen and the sheer awesome simplicity of it made me think "this must exist in my kitchen, and soon!"
You can make your favorite brownie and/or chocolate chip cookie recipe to use in these, or you can be lazy and just use the boxed stuff from the store, I won't judge you, this summer has kept everyone super busy.
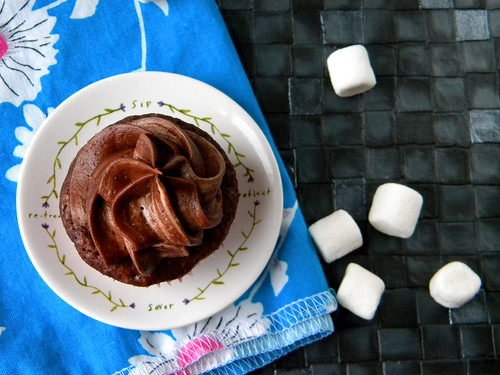
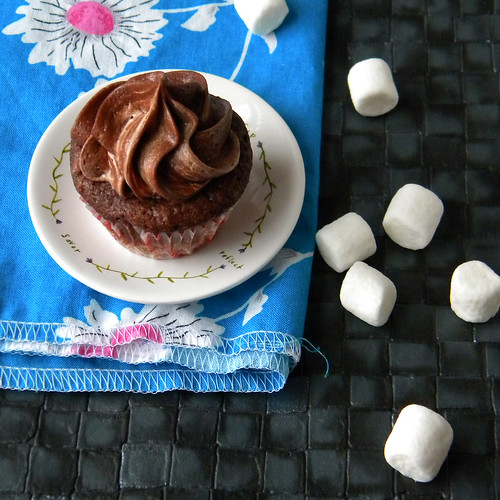
I made a dozen regular sized "cupcakes" and then I decided that it's a bit heavy so I used the remaining batter to make two dozen minis, which were the perfect "pop-6-in-your-mouth-before-you-know-what-you're-doing" size.
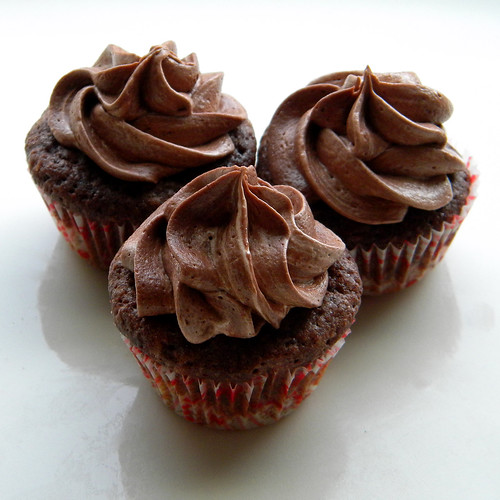
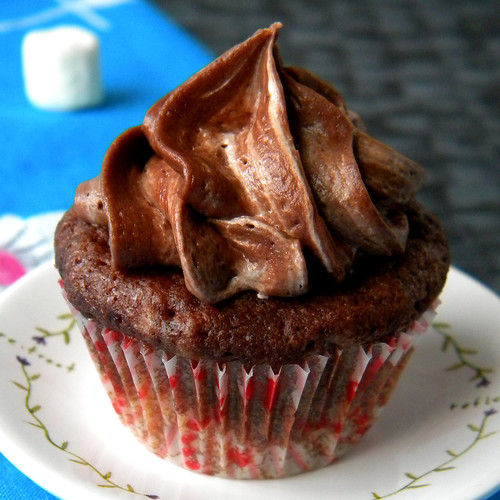
Cookie Brownie Cupcake with Chocolate Marshmallow Frosting
Adapted very slightly from Confessions of a Cookbook Queen. I basically gave mine an adult twist since I didn't have chocolate syrup :D
Ingredients
Your favorite brownie batter (homemade or use a mix)
Your favorite chocolate chip cookie dough (homemade or use a mix)
- Preheat oven to 350F and line you muffin tins with liners, either regular size or minis.
- Get your chocolate chip cookie dough and brownie batters ready.
- Scoop cookie dough into liners, a heaping tablespoon for regular size or a teaspoon for minis. Wrap a shot glass with saran wrap and use the bottom to flatten out the dough.
- Spoon brownie batter over the cookie dough, filling cups to about 2/3 full.
- Bake for about 20 minutes for the regular size or 15 for the minis. Basically keep an eye on the brownie part and take out when it's set. Remove from oven and cool on a cooking rack.
Frosting
2 sticks salted butter, softened
1 teaspoon vanilla
3 cups powdered sugar
1/4 cup cocoa powder
4 Tablespoons Baileys
7 oz jar marshmallow creme (or fluff)
- In the bowl of a mixer, beat butter, vanilla, and Baileys on medium-low speed until smooth and combined.
- Add powdered sugar and cocoa powder, stir a bit by hand (I just pull the beater blade off the mixer and use that instead of getting another utensil dirty), this keeps the dry stuff from flying out when you crank up the speed. Powdered sugar up your nose will not look good should an unexpected observer happen to walk by.
- Raise the speed on your mixer to high and beat for 2 minutes until light and fluffy.
- Using a spatula, fold in marshmallow creme, just until swirled throughout. You don’t want it to be completely mixed in.
- Pipe or frost on cookie brownies, then try not to shove too many into your mouth. Remember that lesson on sharing from grade school.