
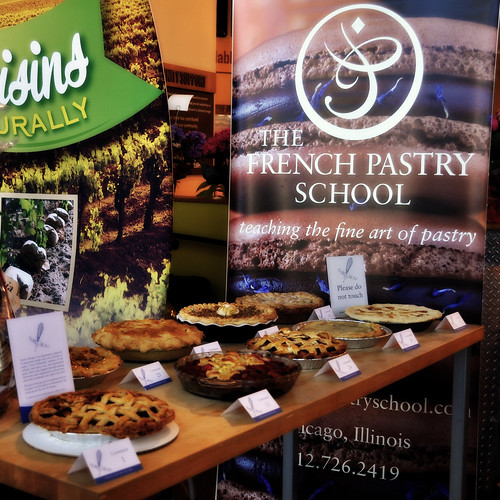
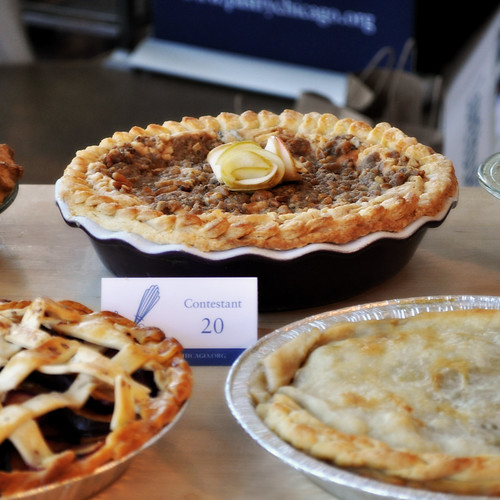
And some of the pies looked absolutely amazing (nope, none of these are mine):
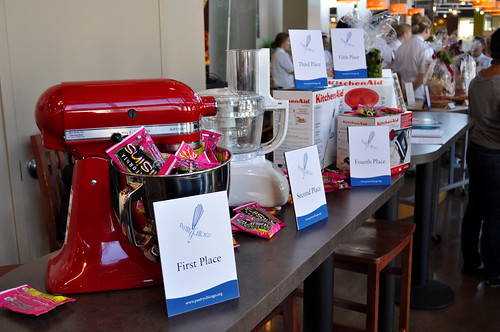
I'm not going to show you what I made, and needless to say, I did not win any of these awesome prizes, but I did learn quite a bit from the whole experience, so I thought I'd make this post informative and share what I learned with you.
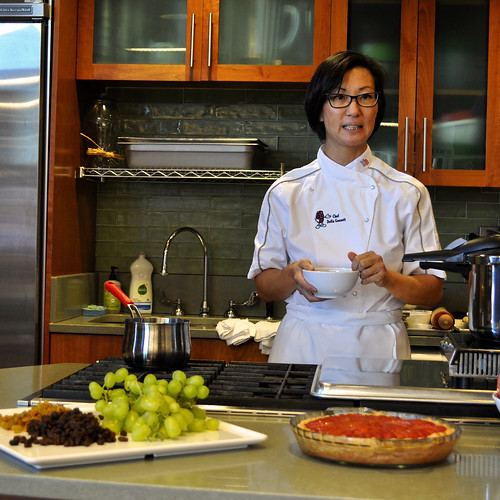
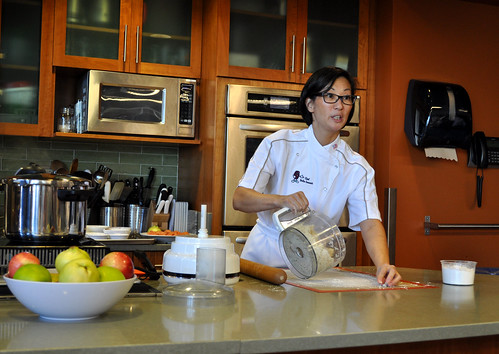
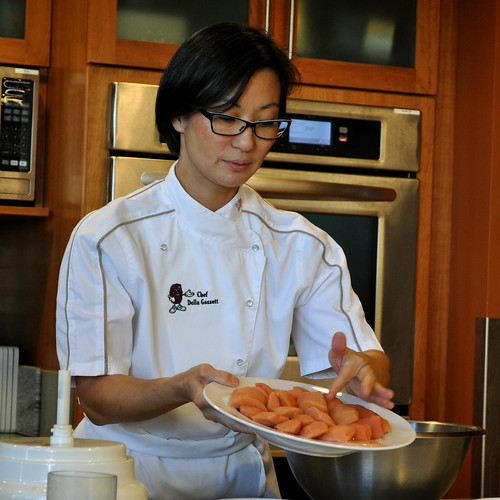
Chef Della Gossett, who currently teaches The Professional Pastry and Baking Program at French Pastry School of Chicago, came out and did a demo on pie making, and I learned more about making a great crust in that half hour then in all the books/tutorials I've read on the subject. I guess I'm a visual learner because watching her, everything just clicked. This post is going to be a bit wordy, but I'm going to try and share with you all the little tidbits that I picked up.
I don't have the exact recipe or ratios that she used, and I find that most recipes are basically the same, so the trick is usually in the handling and the process. I can tell you is that the recipe had pastry flour, salt, cold unsalted butter, and some ice water mixed with about a half teaspoon of table vinegar. If you like you can substitute all purpose or cake flour if you don't have pastry flour on hand, just don't use bread flour which has too much gluten for a pie crust. Also, the little bit of vinegar helps prevent gluten from forming, leaving your crust nice and flaky even if you accidentally overwork it a little. Gluten, by the way, is what makes things like bread and pizza dough so nice and chewy, but turns around and makes pie crusts tough and hard. She dumped the flour and salt into the food processor (no pastry cutters here), pulsed a few times, added cold butter cubes, pulsed a few times to get a crumb texture, and then drizzled in the water/vinegar mix while pulsing again, just until the dough started to come together a bit.
Side tip: If you're planning on making lots and lots of pies, or even just want to get ready to make one, measure out everything except for the water and vinegar, put into a ziplock bag and toss in the freezer. When you're ready to make the crust, just empty the pouch into your food processor and you're ready to go.
Once things started coming together a little, she dumped everything out onto a lightly floured Silpat and really quickly kneaded everything together into a cohesive dough. The whole thing took less then a minute and when she was done the dough was still cold and you could still make out little bits of butter in the mix. The whole thing got wrapped with Saran Wrap and tossed into the fridge to relax.
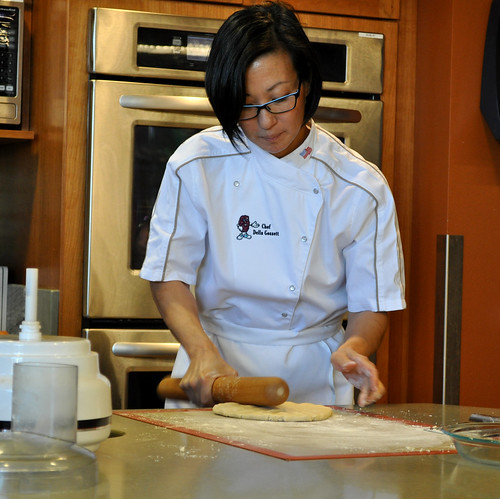
Ideally you want to chill the dough for an hour or so, but if you kept yours overnight and it got firmer than you like, just whack it a few times into a disk form with your rolling pin before quickly rolling it out on a lightly floured Silpat. Make sure to roll outward from the center and not back and forth and keep in mind that you want the final shape to be a circle, so rotate the dough a quarter turn every couple of strokes.
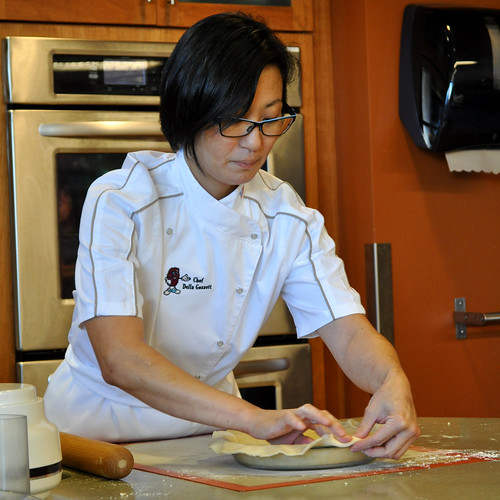
Instead of tucking the dough edges underneath, she neatly trimmed the edges leaving an even inch of overhang all around (the leftovers can be cut into strips, dredged in cinnamon and sugar and baked for munching on later), and folded them inward using her finger as a guide. You can sort of see what I mean in the picture below. I really liked the shape that this made, plus I think it gives you a deeper crust even if you're not using a very deep dish. A deeper crust equals more filling and who doesn't want that?
She had the oven preheated to 475F with an inverted cookie sheet set on the middle rack waiting for the crust to be blind baked (baked partially without filling). When you slide in the pie dish, the preheated cookie sheet will make sure that the bottom of the crust cooks faster, preventing soggy/uncooked crust bottoms later on.
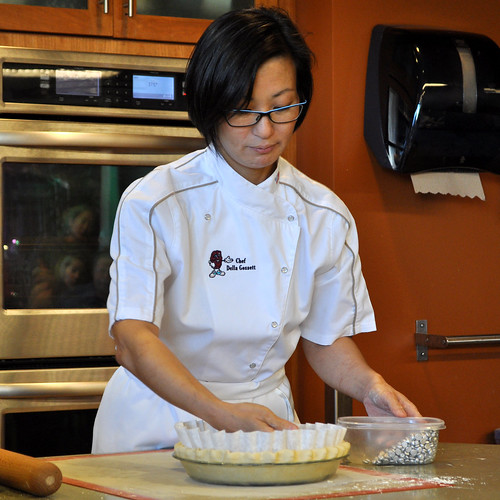
I also liked how she used a large coffee filter (filled with pie weights, beans or rice) to line her crust instead of foil, which is what I have been using. The coffee filter absorbs some of the moisture and allows some air circulation making sure that the top of the crust bottom (does that make sense?) browns nicely as well. The crust baked for about 20 minutes and was then taken out and cooled as the filling was being made.
She filled her pie with chopped apples, raisins infused with cinnamon, and pre-cooked quince. You can use whatever apples you like, or even a mix, just make sure that you pick the kind that don't turn completely to mush during cooking. If you're getting them at your farmers market, just ask the farmer, they'll tell you exactly which ones are the best for what.
The raisins can be infused with almost anything. Della (yes, I got tired of saying "she" so we're on a first name basis now) plopped some raisins into a small pot with some water and a few sticks of cinnamon, brought it to a simmer and set it aside to infuse for about 20 minutes or so. I had attempted to do the same with my pie, but I used rum and I learned that there is such a thing as infusing raisins too much. I left them to soak overnight and they were tiny little booze bombs, so 20 to 30 minutes might be my limit next time around.
I don't know if you've ever cooked with quince before, but it's a delicious fruit that's unlike anything else. It looks like a cross between an apple and a pear, but it absolutely cannot be eaten raw because it is hard and will suck out all the moisture from your mouth. My mom used to make it into preserves with a few walnuts suspended in delicious syrup, or toss a few into compot, a cooked fruit punch that's amazing both warm and ice cold and is the perfect use of leftover or slightly imperfect fruit. I'll have to tell you guys about it sometime in a different post.
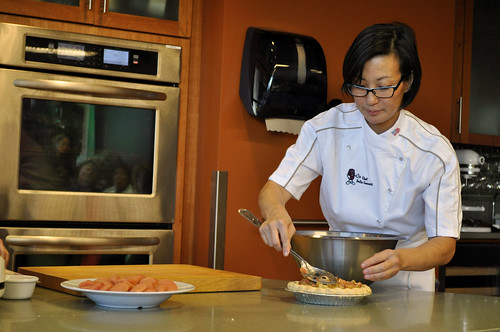
Della peeled, cored and thickly sliced the quince and dumped the peels and the slices into a pressure cooker along with a scraped vanilla bean, two tablespoons of sugar and about two cups of water. You want to keep the peels for the flavor that they add to the mix. The whole thing was sealed up tight, brought to full steam, and then cooked on medium for about 35 minutes. The quince will retain it's shape, but soften a bit and turn this lovely pink color, and your kitchen will smell incredible. Some of the poaching liquid got mixed in with the diced apples and raisins, which got scooped into the crust and topped with the cooked quince slices.
The pie went into the oven to cook for about 40 minutes and in the mean time she reduced the quince poaching liquid with a bit of honey into a beautiful glaze that was brushed onto the finished pie.
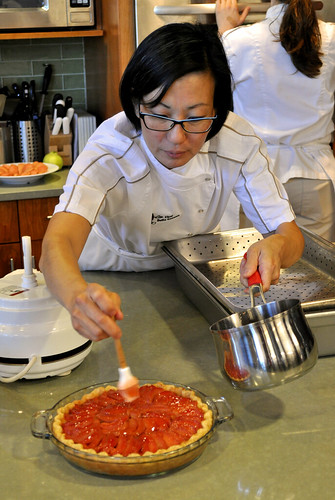
How gorgeous is that? And let me tell you, topped with a wisp of whipped cream, it was delicious! The crust perfectly flaky and tender and the filling not too sweet and full of flavor. I'm on a hunt for quince that won't cost me an arm and a leg, and then I'll definitely be making this.
3 comments:
Really loving all your tips, I really learned a lot from this post. Keep it up!!
I think she did the demo last year too.
To me a pie is all about the crust. I actually will eat the crust & not the fruit. Weird I know.
Post a Comment